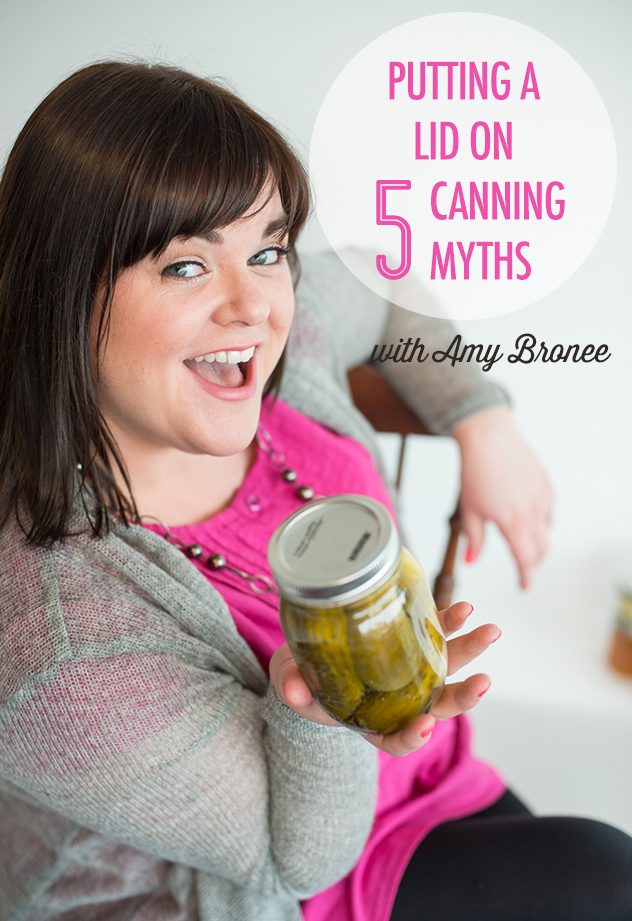
Learning to can and preserve food can be intimidating and there's a lot of misinformation out there. So Amy Bronee, author of The Canning Kitchen, is here to help dispel 5 common canning myths so you can get on with preserving summer's bounty!
Canning is hot again with home cooks, but many aren’t filling jars because they’re filled with questions instead. Just what do you need to get started, how much work is involved, and what is pectin anyway?
Since just deciding to get started can be the hardest part, here are 5 canning myths cleared up so you can build your canning confidence and get on with making delicious homemade preserves like a boss.
Myth 1: Canning requires a lot of equipment
Many of the tools required for preserving food in jars can already be found in any home kitchen. A large pot for boiling jams and chutneys, a cutting board and sharp knife, wooden spoons and measuring cups are standard tools for any recipe.
The extras specific to canning such as a speckled enamel canning pot with a lid and fitted rack, mason jars with two-piece lids, a jar lifter and canning funnel can be found inexpensively at most hardware stores. Most of these will last through years of preserving. Jars can be reused indefinitely if they are free of chips and cracks. Ring bands can be reused indefinitely if they are free of rust and dents, but the flat lids must be replaced every time.
Buy tools separately or get an all-in-one kit with everything you need to get started. If space is an issue, buy a canning rack that fits a stock pot you already own.
Myth 2: Canning is a lot of work
The amount of effort that goes into a canning project depends on what you’re making. Classic Garlic Dill Pickles are a simple and fun first-time canning project as are berry jams like this Blackberry Vanilla Jam. Other preserves take more time, such as marmalades which require a long simmer to soften citrus peels.
Choosing a beginner recipe that can be made in under an hour is a good place to start, and the more often you do it the quicker your canning skills will become.
That being said, if you do want to can a couple dozen jars of tomatoes or make a few different recipes at a time, you might prefer to invite some friends over to help. Canning parties are a growing trend for first-time canners who see the social benefits of learning a new skill together and sharing the delicious results. Canning classes are also a growing trend at cooking schools, community centres and food co-ops.

Myth 3: I need a lot of ingredients
Most jams require no more than about 3 lb (1.4 kg) of fruit and have as few as two or three ingredients. First time jammers looking at the ingredients in front of them might even ask, is that it?
Other recipes such as tomato sauces, relishes and chutneys often require more ingredients in larger volumes, but that doesn’t have to make preserving expensive. To limit costs, buy fresh ingredients when they’re in season, visit u-picks or buy directly from farmers. Sometimes ingredients can even be free. Start your own veggie garden or ask a neighbour if you can pick their fruit trees in exchange for some jars of the delicious homemade preserves you’ll make. Some cities offer tree fruit picking programs where a third of the fruit goes to the homeowner, a third to community kitchens and a third to the volunteer pickers.
Myth 4: Pectin is a preservative
Used in making jam and jellies, pectin is often misunderstood by new and experienced canners alike. It’s not a preservative, and it’s not made from animals (that’s gelatin).
Pectin is a natural fibre found in most plant cells. The seeds, skins and cores of apples as well as the seeds and peels of citrus contain quite a lot of these cells, and commercially-available pectin is the by-product of juice production. The leftover fruit pulp is dried and ground to produce pectin crystals.
While pectin is not a preservative, it does allow you to preserve flavour, colour and texture as the addition of pectin to jams and jellies means you can use a very short cooking time. No-pectin-added jams and jellies require a much longer cooking time resulting in darker, less fresh-tasting jams with a lower yield.
Myth 5: I have to sterilize my jars
Home canners used to sterilize all their jars before filling them with homemade goodies, but current sterilization guidelines from the research-leading National Center for Home Food Preservation (US) state this isn’t strictly required. Research shows that filled jars that are processed (boiled under water) for at least 10 minutes in a boiling water canner will become sterilized during processing.
An old-fashioned canning method called the open-kettle method, where jars would be sterilized and filled without further processing in a canner, is not recommended by modern guidelines. Since most of today’s canning recipes have a processing time of at least 15 minutes, start with clean jars washed in hot soapy water or a dishwasher and you’re good to go.
Looking for some great canning ideas to get you started? Check out our Canning and Preserving board on Pinterest. If you're an FBC member and want to share a recipe from your blog, then take a look at our Pin It Thursday - Canning & Preserving.
**Editor's note - the first photo in this article is courtesy of Keri Coles Photography.
Putting a Lid on 5 Canning Myths was written by Amy Bronee. Amy is a food blogger, cooking instructor and author of The Canning Kitchen: 101 Simple Small Batch Recipes. Her home-cooking blog, Family Feedbag, has won several awards and recognitions, including a Jamie Oliver award and being named one of Western Living’s Top 40 Foodies Under 40. Amy is proud to be part of the canning renaissance in home kitchens.
You can unsubscribe any time!


Although I’ve been cooking for, ahem, decades, I didn’t try canning until last summer. I had this misconception that it would be complicated and a fear of making a mistake that would make someone sick. I’m glad I gave it a try, and now I’m looking forward to making a wider range of preserves this year. It was far easier than I expected and gave me the great satisfaction of seeing my jars of jam and apple butter in our storage cupboard. I enjoyed your article, and hope it will encourage more people to venture into canning. Thank you!
That’s so great to hear, Marlene. Happy canning!
[…] Putting a Lid on 5 Canning Myths :: Amy Bronee for FBC […]
I tried canning once many years ago but for whatever reason it just didn’t stick. Two years ago a friend asked if I wanted ‘some’ cukes. He brought nearly two bushels! By the time I finished I was hooked. This year I bought an All American pressure canner and I’ve been filling my pantry with jars of goodies. I really prefer the pressure canner just for the capacity (14 500 ml jars) and would really like to find a reliable source for converting recipes from water bath to pressure.
Glad to hear you’ve got the ‘canning bug’ Rick! It sounds like you’ve been busy.
Keep in mind that pressure canning is ideal for low acid foods and mixtures such as meat, poultry, fish and vegetables packed in water, and may not be the right choice for certain preserves such as relishes and dill pickles, which could become over-processed in a pressure canner and lose their crunchy texture.
Enjoy stocking those shelves!
Your friend in canning,
Amy @ Family Feedbag
You can use your pressure canner as a water bath canner as well. Just place the lid on top, but don’t seal it like you would for pressure canning, and don’t bring the canner up to pressure. Easy.
[…] the manufacturer’s directions on your canner. For more information on home canning, check out Putting a Lid on 5 Canning Myths With Amy Bronee on Food Bloggers of […]
Great article, I “can” everyday at my full time job and for myth one the only tools really required if you already have a large pot is a jar lifter and a ladle for filling. A nice extra would be a canning funnel, all can be found at Canadian Tire, Home Hardware or Walmart for really cheap.
Dear Amy,
I am not completely sure about the lids for pickles? In your article is to remove the lids when we put them in the canner when the are in the boiling water and when you putting them back? I when the are cold there is no vacuum, would you please help me with this? Thanks
Hi Zdenka – You want to leave the lids on when they are processing in the canner. The lids will seal when you remove the jars from the canner. I hope that helps!