In our Food Styling 101 series, Lisa Bolton offers up food styling tips for conveying the stories you want your food to tell. Her advice will help you create food photography that entices readers to make your recipes and read your articles. With the holiday gifting season coming up soon here are our timely tips on food styling edible gifts.
The holiday season of giving is just around the corner. It's that time of year when people end up scouring online or the local mall for the perfect item for the office gift exchange, the hostess of next weekend’s holiday party or just something their mother-in-law won’t return. These days though, I think people really do appreciate the consumable gift, especially a homemade one. And truly, what's more personal that a gift made with love from the kitchen?
Food photographers, stylists and bloggers have at least one thing in common — their love of food. And when it comes to food, the most love comes from when we get to share that food with friends and family.
How Do You Style Food Packaging?
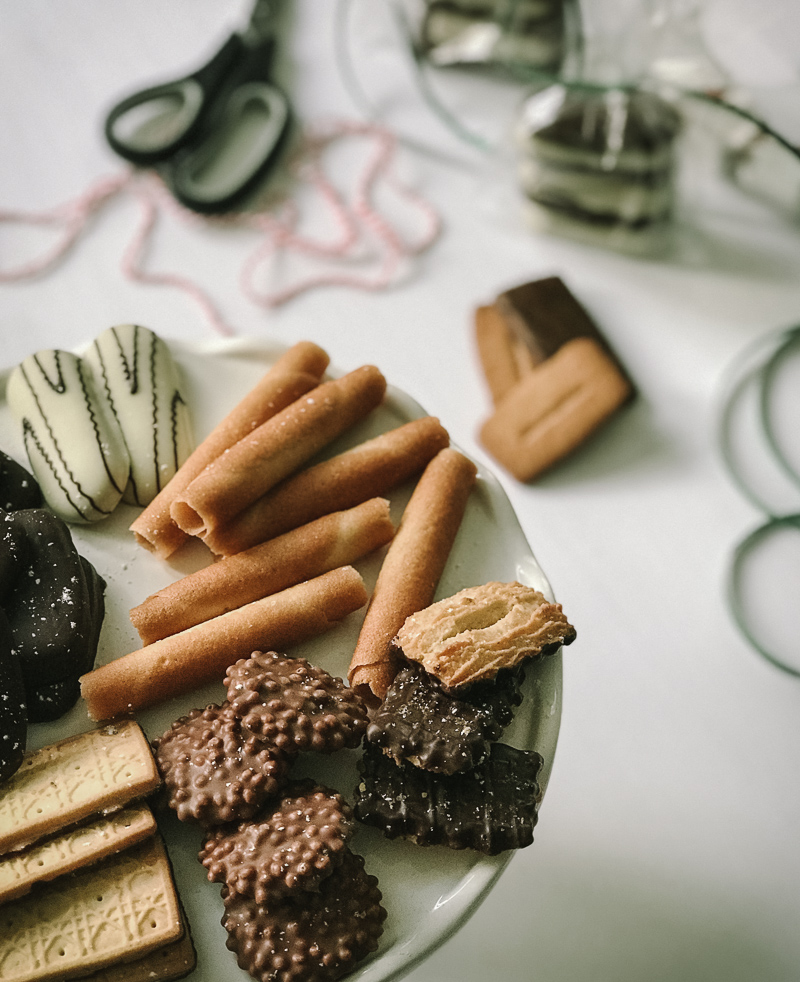
The biggest component to styling edible gifts is the packaging. While people will be interested in the cherry almond biscotti recipe, they will be most interested in how you packaged it so adorably.
While whatever edible gift you give ultimately has to taste good, the viewer is going to first be drawn to the packaging. Readers need to be able to visualize how they're going to pack things up to give as gifts!

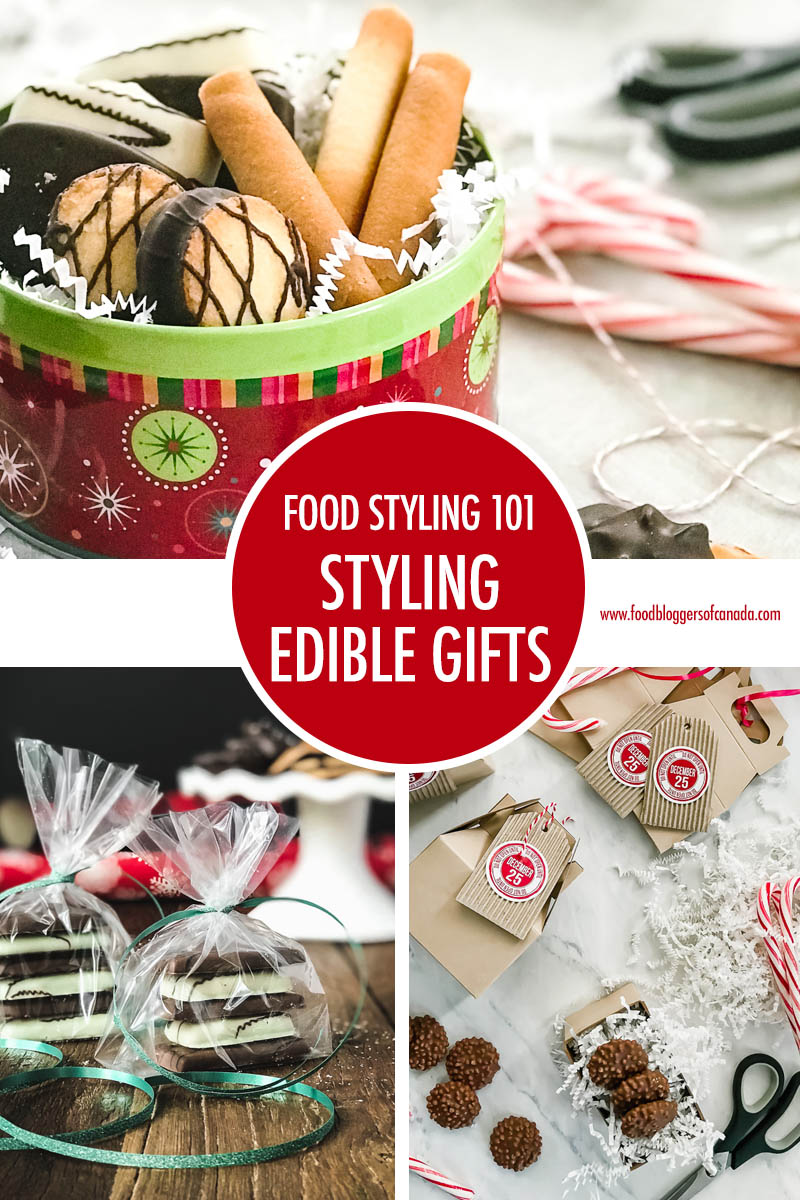
The Standard Metal Tin
The most common choice for cookies and squares is the standard metal tin. These obviously work great for transporting cookies, with their solid sides and well-fitting lids. And they come in unlimited designs, shapes and sizes.
If you're styling cookies in a tin, it's best to have the lid off, so people can see what's inside. Layer the cookies on an angle instead of right on top of each other, so the layers are present and add height and texture to the image. You may want to pull out a cookie or two and lay them beside the tin, especially if there's a variety of baked treats inside. Styling a tin of cookies for the shot may also mean overfilling it to create an abundant feel.
You'll want to line the tin with parchment, tissue paper or brown butcher paper. High fat cookies or desserts will leave a grease stain (I’m looking at you shortbread), so parchment is preferred. Depending on whether you want a rustic or more perfect look you can tear and scrunch the parchment or use scissors for a clean edge. Either way, avoid displaying the "sharp edge of the box" look that parchment can give.

Styling with Craft Supplies
Styling an image with the craft supplies in the shot is another approach. Much like you may leave a spatula, ladle or other kitchen tool in a recipe shot, the craft tools become the necessary equipment for the job. This means including scissors, tape, twine and lots of ribbon spools.
One pretty look is tying the ribbon around the food but not cutting it, or leaving the ends very long with a pair of scissors in the shot. It has a similar effect as an in-progress shot when you're showing different stages of a recipe.
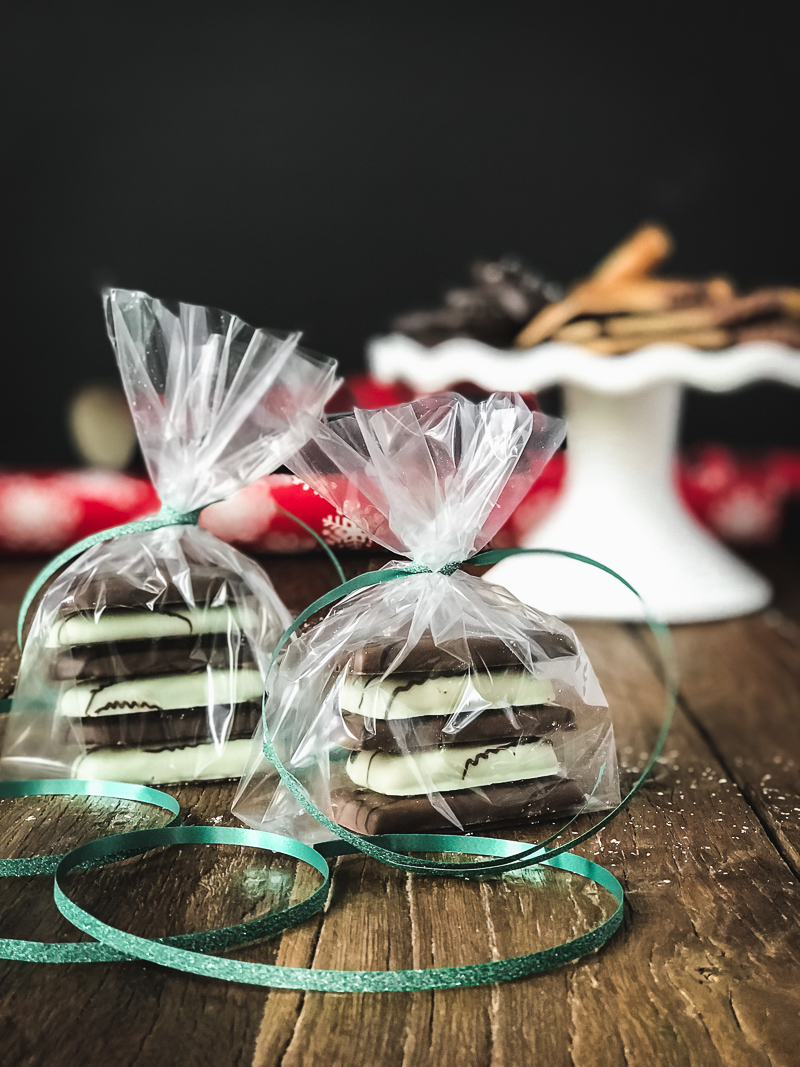
Glass Jars or Cellophane Bags
When it comes to edible gifts, the most common shots are going to be overhead or a three-quarters angle. However, when it comes to glass jars or cellophane bags, the straight-on shot is what's going to best show the edible delights inside. Therefore, style the scene for this angle.
There are so many types of glass jars available at very reasonable prices. If you're using canning jars, dress them up with ribbon, twine, cloth or perhaps attach a serving spoon. A square patch of cloth over the jar lid secured with twine takes a jar from boring to interesting in an instant. Attaching a handwritten gift tag also adds a very human element without an actual human in the shot.
Another way to style jams and jellies is to scoop a little bit onto an antique spoon prior to sealing the jar and rest it over the jar. This draws the eye into the detail of the preserve, which can sometimes get lost behind the glass.
Including Purchased Items
Try adding something not homemade to your homemade gift. For example, if the edible gift is your famous red onion marmalade, consider placing it in a basket with a sleeve of crackers and a small wheel of brie. A possible styling set-up could be the basket unwrapped, next to a roll of cellophane, ribbon and scissors.
If you wrap the basket before you photograph it, people won’t fully appreciate what is inside. Alternatively, you could wrap the basket but have a plate with a few crackers adorned with brie and the marmalade.
MORE READING
- Food Styling: Tips for Hot Beverages
- Food Styling: Tips for Back To School Lunches
- Food Styling: Tips for Styling Casseroles
Lisa Bolton is a food stylist, recipe developer and creator of beautiful food boards. You can find her work at lisadawnbolton.com. She lives in the Lower Mainland of BC. Her first cookbook, On Boards, (affiliate link) is due to be released by Appetite by Penguin Random House in October 2018 and is available for pre-order. You can reach her on Instagram, Twitter, Pinterest and Facebook.
You can unsubscribe any time!


Thanks for the great ideas, here!!! Luv this 🙂